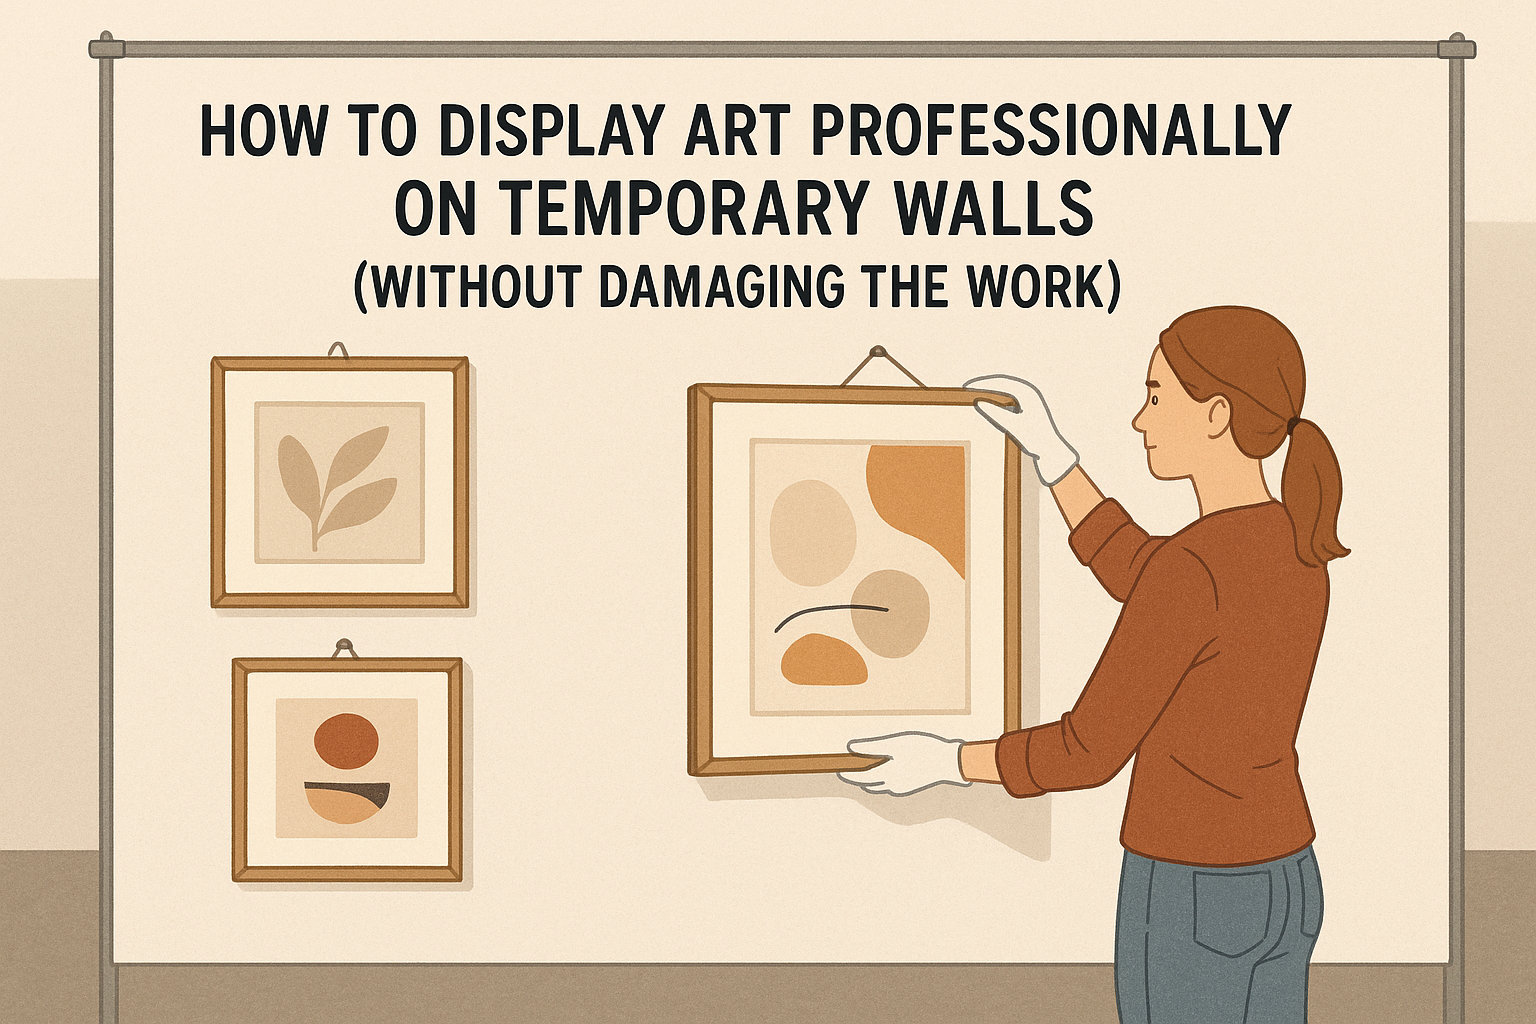
How to Display Art Professionally on Temporary Walls (Without Damaging the Work)
Displaying artwork safely is essential — especially when working with borrowed pieces, student work, or delicate originals. But what do you do when your exhibition space doesn’t have suitable walls? Whether you’re curating a pop-up gallery, school exhibition, or community art event, temporary walls for art offer a clean, professional solution that protects both the artwork and the venue.
The key is knowing how to hang and display art properly on these walls — without causing damage or risking the security of the work. This guide covers everything you need to create a polished, gallery-ready exhibition using art display walls, all while keeping your artwork safe.
1. Choose the Right Temporary Walls for Art
Not all walling systems are equal.
The quality of your art display walls will determine both the safety of the work and the overall visual impact of your exhibition.
Look for wall systems that are:
Strong and stable — suitable for framed or heavy pieces
Smooth and gallery-standard — clean, crisp surfaces that enhance the artwork
Freestanding — no damage to the venue walls
Built for hanging — with reinforced internal structures
Configurable — so you can build a custom layout
High-quality temporary walls allow you to hang artwork securely and present it in a professional, curated way.
2. Use a Proper Hanging System (Not Nails or Tape)
One of the biggest mistakes in temporary exhibitions is using Blu Tack, tape, or basic nails — all of which can cause damage or fail under weight.
Professional art display walls are designed to work with:
Hook-and-rail hanging systems
Adjustable cables or rods
D-rings and picture hooks
French cleats (for heavier works)
Hanging bars or brackets
These systems prevent holes, cracks, or adhesive marks on both the art and the wall.
3. Measure and Hang at Gallery Height
Consistency is what gives exhibitions their polished look.
The standard gallery hanging height is:
155–160 cm from the floor to the centre of the artwork
Using this height across all your temporary walls for art ensures the exhibition feels cohesive and professional.
Tips for perfect alignment:
Use a spirit level
Measure from the floor — not ceiling or wall edges
Match spacing between artworks (usually 5–10 cm)
Align series or collections in neat rows
Even simple student shows can look gallery-grade with consistent hanging height.
4. Support the Artwork Properly (Especially Heavy Pieces)
Temporary art walls are engineered for hanging, but you still need to secure heavy pieces correctly.
For heavier works:
Use double hooks
Add a weight-bearing cable system
Check the wall’s internal frame strength
Use appropriate fixings rated for the artwork’s weight
Never assume a nail or small hook will be enough — secure mounting prevents accidents and protects valuable work.
5. Avoid Direct Sunlight and Poor Lighting
Lighting affects both the safety and the presentation of art.
Direct sunlight can fade colours or warp surfaces, while poor lighting makes even the best displays look flat.
Temporary walls can hold:
Adjustable spotlights
LED track lighting
Wall washers
Accent lights
These options let you illuminate the artwork without placing it at risk.
6. Create Proper Spacing to Let Artwork Breathe
Crowded displays feel unprofessional and increase the risk of accidental damage.
Spacing is key to both safety and visual impact.
Standard spacing guidelines:
Leave 5–10 cm between smaller pieces
Leave 15–30 cm around large works
Group artworks by theme or colour for visual clarity
Use negative space strategically
Spacing reduces the chance of collisions, snags, or frames bumping against each other.
7. Use Labels and Signage Without Touching the Artwork
Labels should enhance the display — never interfere with it.
Place labels:
On the wall, not the frame
Aligned neatly under or to the right of the artwork
With enough distance to avoid accidental touches
Temporary walls make it easy to attach labels cleanly using removable adhesives or magnetic systems (depending on wall design).
8. Ensure Stability in High-Traffic Areas
If your exhibition will have school groups, public visitors, or dynamic movement, stability is essential.
Check that your art display walls are:
Properly weighted or anchored
Supported by stabilising feet
Locked together if using modular panels
A secure wall system protects both the artwork and the visitors.
9. Test and Inspect Every Piece Before Opening
Before the exhibition opens, walk the entire space and check:
Are hooks secure?
Are cables correctly tightened?
Are artworks straight and aligned?
Are labels readable?
Are wires hidden?
Are lights positioned correctly?
A final inspection ensures everything looks professional and stays safe during the event.
10. Dismantle Art Carefully to Avoid Damage
Once the exhibition ends, dismantling counts just as much as the installation.
Best practices:
Remove artworks one at a time
Keep frames upright
Wrap fragile pieces immediately
Avoid scraping the walls
Organise hardware so nothing gets lost
Temporary walls make teardown easier because there’s no plaster damage, filling, or repainting required.
Conclusion: Temporary Walls Make Professional Art Displays Easy (and Safe)
With the right technique and walling system, you can display artwork beautifully and securely — without damaging the walls, the venue, or the pieces themselves.
Using high-quality temporary walls for art and proper hanging methods transforms any space into a gallery-standard environment. Whether you’re planning a pop-up show, student exhibition, or community art event, art display walls give you the flexibility, safety, and professional finish you need.
Need Professional Temporary Walls for Your Next Exhibition?
We supply premium temporary art walls and gallery-grade display wall systems used by artists, schools, galleries, and event organisers across the UK.
👉 Contact us today to create a safe, beautiful space to showcase your artwork.