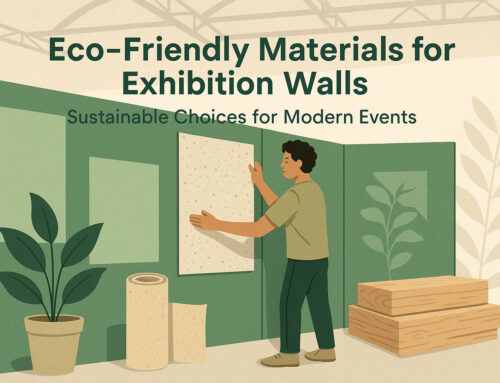
🎨 Why Temporary Art Walls Matter
Temporary art walls are the backbone of any modern exhibition — whether it’s a pop-up gallery, art fair, or museum showcase. They let you transform any space into a professional display environment, control the flow of visitors, and protect valuable artworks.
But while they’re temporary, the installation process demands planning and care. A poorly installed wall can lead to instability, damage, or safety risks for staff and visitors.
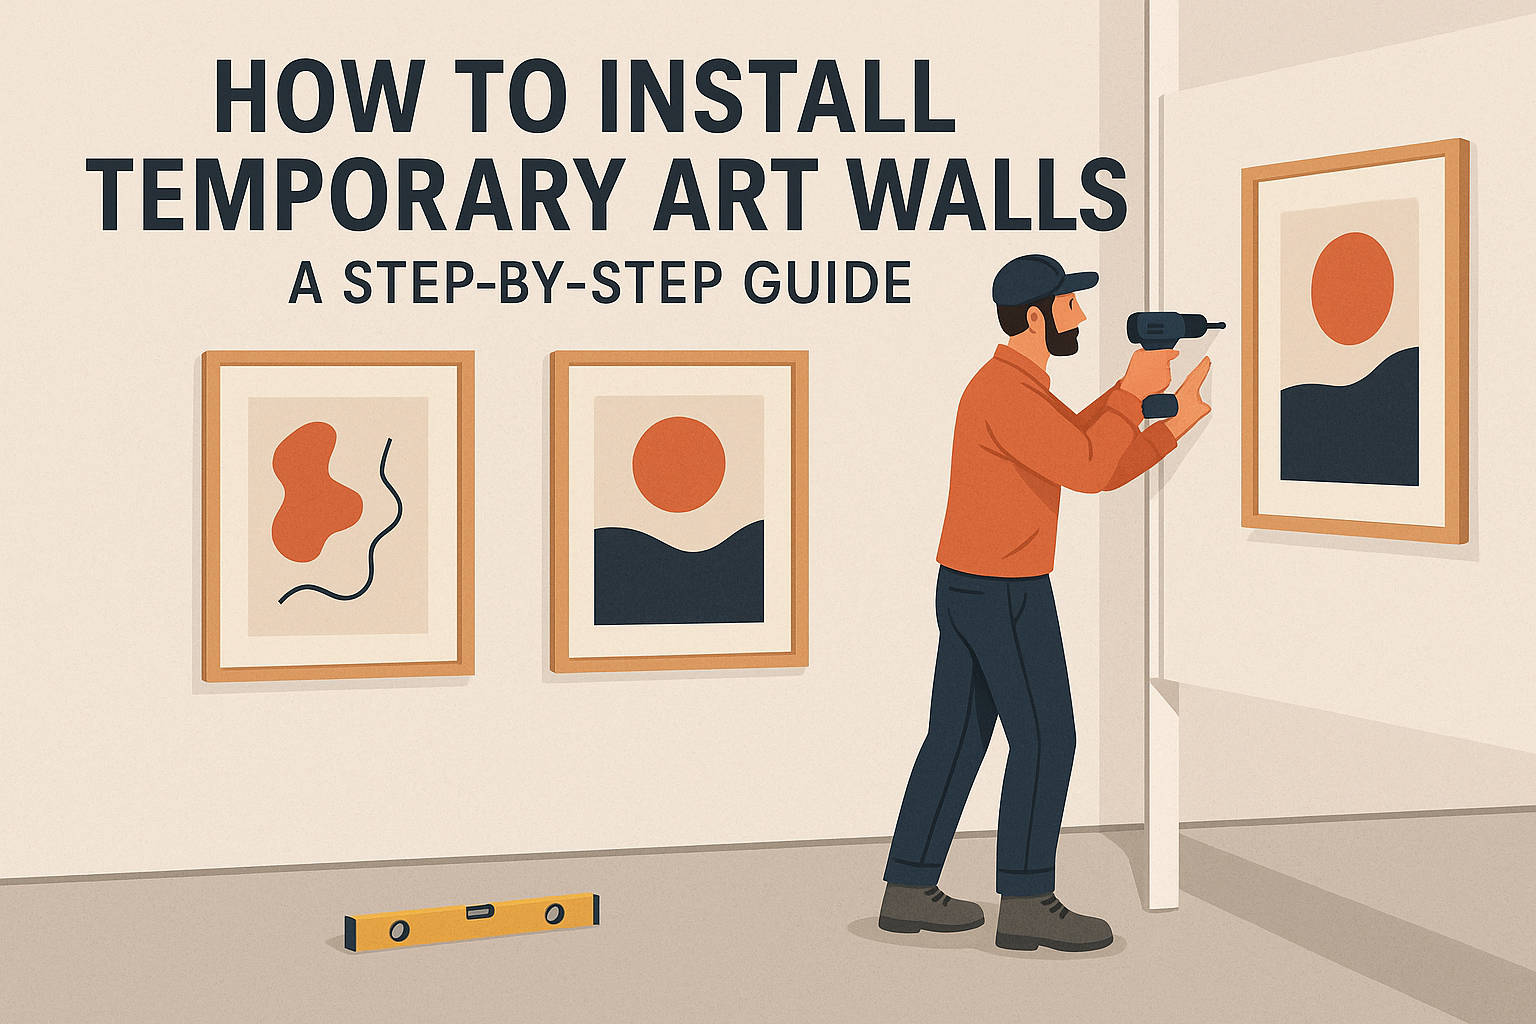
In this guide, we’ll walk you through how to install temporary art walls safely, step by step — from preparation to final touches.
🧰 Step 1: Plan the Layout
Before you lift a single panel, start with a layout plan.
-
Measure the space — note ceiling height, floor type, and access points.
-
Sketch your layout — decide on wall lengths, angles, and traffic flow.
-
Identify anchor points — where the walls will connect, and if floor or ceiling bracing is required.
-
Check venue restrictions — some spaces restrict drilling or certain wall materials.
💡 Tip: Use masking tape or chalk on the floor to mark out where each wall will sit — this visual step prevents last-minute adjustments.
🔩 Step 2: Prepare Your Materials and Tools
Make sure everything is ready before installation begins. You’ll typically need:
-
Wall panels or modular frames
-
Base plates or floor supports
-
Connection brackets or locking mechanisms
-
Level, measuring tape, and drill (if permitted)
-
PPE: gloves, steel-toe shoes, and high-vis vests for crew
-
Optional: lighting mounts, cable clips, or hanging systems
⚠️ Safety Note: Never install panels solo — most wall systems require at least two people for stability and alignment.
🧱 Step 3: Build the Base and First Panel
-
Place base plates or supports where your first wall section will go.
-
Set up the first panel, ensuring it’s perfectly vertical.
-
Secure it temporarily with brackets or a helper holding it in place.
-
Continue connecting panels, one by one, checking level and alignment as you go.
💡 Pro Tip: Always work from a corner or fixed point first. This gives your wall system a stable starting point and reduces misalignment later.
🔗 Step 4: Secure the Structure
Once panels are aligned:
-
Tighten all brackets and joins.
-
Add stabilising feet or braces where needed (especially for walls over 2.4m).
-
If your system allows, use cross braces for extra rigidity.
-
For freestanding walls, add weights or floor anchors to prevent tipping.
⚠️ Safety Tip: Walk around the structure and gently push on each panel — it should not wobble or flex excessively.
🎨 Step 5: Finishing Touches
When the structure is secure:
-
Check seams for gaps — use filler strips or cover joints if needed.
-
Paint or cover walls if required (ensure paint is fully dry before hanging artwork).
-
Install picture hooks, rails, or hanging systems according to artwork weight.
-
Add lighting fixtures — always follow manufacturer guidelines.
💡 Tip: Keep all wiring neat and off the floor to prevent tripping hazards.
✅ Step 6: Safety Checks Before Opening
Before inviting the public in, do a full safety inspection:
-
Ensure all panels are secure and stable.
-
Double-check that lighting and cables are fixed safely.
-
Confirm there are no sharp edges, trip hazards, or unmarked steps.
-
Verify that emergency exits are unobstructed.
If possible, have a third-party inspection or risk assessment — especially for large-scale exhibitions.
🧩 Step 7: Easy Dismantling After the Show
When the event ends, reverse the process carefully:
-
Remove artwork and accessories.
-
Dismantle from the last installed section backward.
-
Stack panels on padded surfaces to prevent scratches.
-
Label components for easy reassembly next time.
💡 Tip: Photograph each stage during installation — it’s invaluable when rebuilding the setup for future exhibitions.
🧠 Final Thoughts
Installing temporary art walls safely isn’t complicated — but it does require planning, teamwork, and attention to detail. Whether you’re hosting a weekend pop-up or a month-long gallery exhibition, following these steps ensures a stable, professional, and safe result.
If you’d prefer not to handle the logistics yourself, our team at Expowalls specialises in temporary exhibition walls, modular displays, and full installation services across the UK. We handle everything from design to dismantle — so you can focus on your art.